Setting Up Segpay for Bunny CMS
Required Information:
- Credentials for login into Segpay Merchant Panel
Setup Prices:
- Go to "My Websites" -> "Price Points"
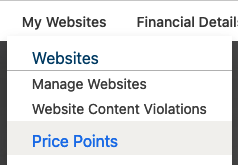
- Click "Add Price Points"

- Set Description: "any text that you want"
Type: "Recurring"
User Info Settings: "Do Not Collect Username and Password"
Currency: "Choose your primary currency"
*A client's Currency option(s)s will be available based on their bank (Account) configuration

- If you would like to add Trial price:
Initial Price "0.0"(or other value for initial payment) for "5"(trial period days)
Recurring at "14.99"(or other value for recurring payment) every "30"(recurring period days)
*Free Trial's may require additional Segpay/Bank approvals (FYI)

- If you would like to add No Trial price:
Initial Price "24.99"(or other value for recurring payment) for "60"(recurring period days)
Recurring at "24.99"(or other value for recurring payment) every "60"(recurring period days)

- Click "Save"

- If you still have any questions, please read the Official Segpay Documentation about Price Points
Setup Postback:
- Go to "My Websites" -> "Manage Postbacks"
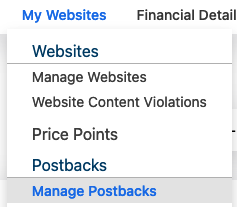
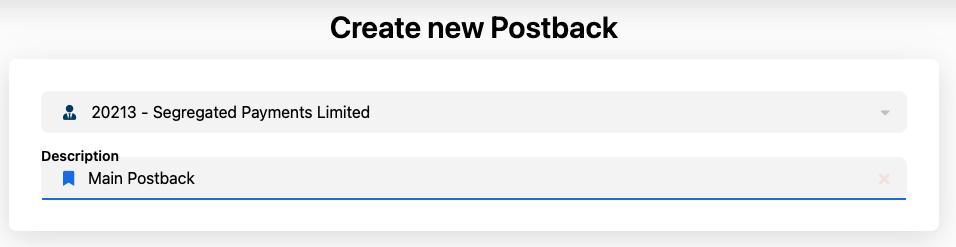
- Click "Add new postback"

- Write Description: "any text that you want",
- Scroll down to "Transaction Postbacks", click to first "TransPost"

- Set URL: "https://your-network-site.com/api/postback/segpay/", Expected response: "OK", Error
response: "Error"
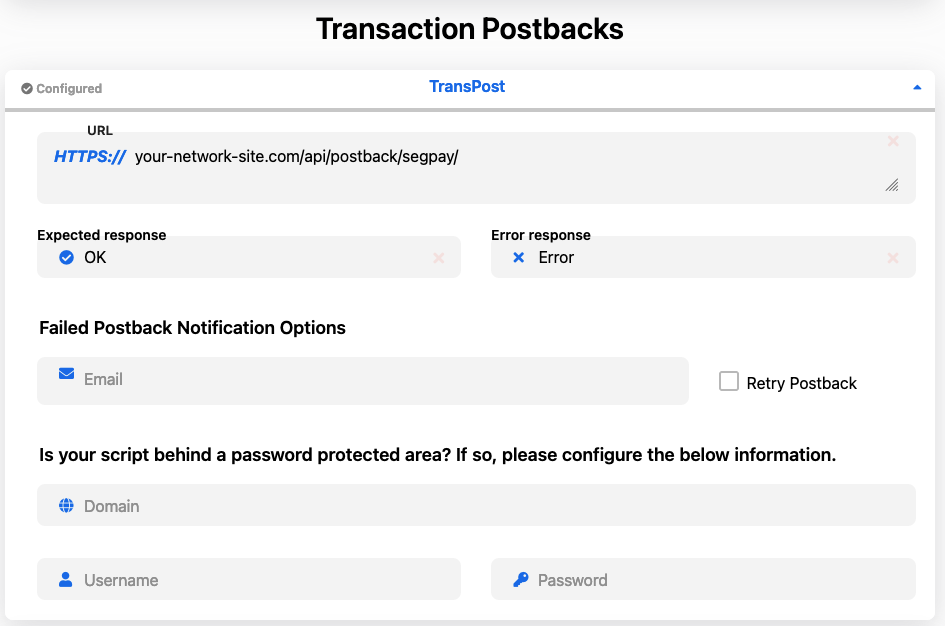
- Click "Save" on the bottom

- If you still have any questions, please read the Official Segpay Documentation about Postbacks
Create Package (Connect Prices with Postback):
- Go to "My Websites" -> "Manage Packages"
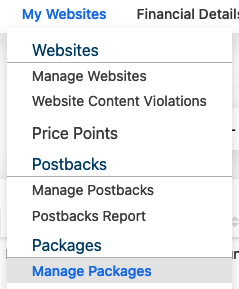
- Click "Add Package"

- Write Description: "any text that you want"
URL: "your website url from dropdown"
Processing Status: "Always Approve from dropdown"
Postback: "Postback that you created in previouse step"
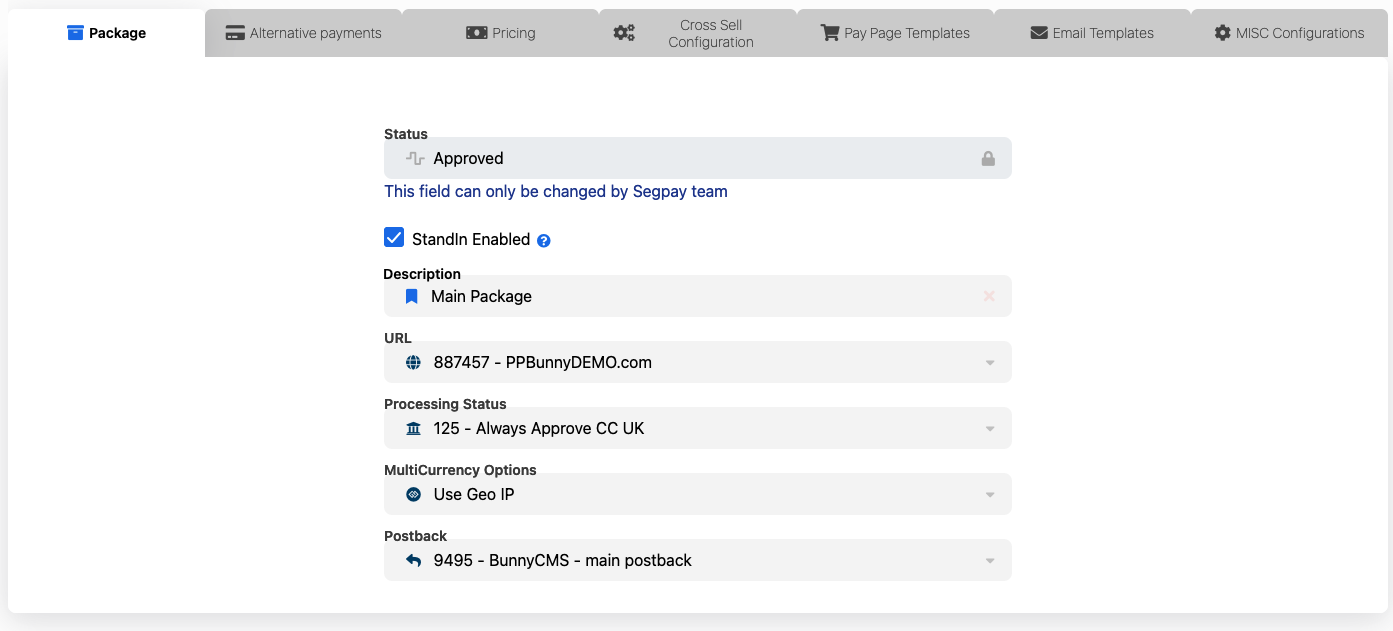
- Click "Save" on the bottom

- Click to "Pricing" tab

- Select all prices that you would like to use
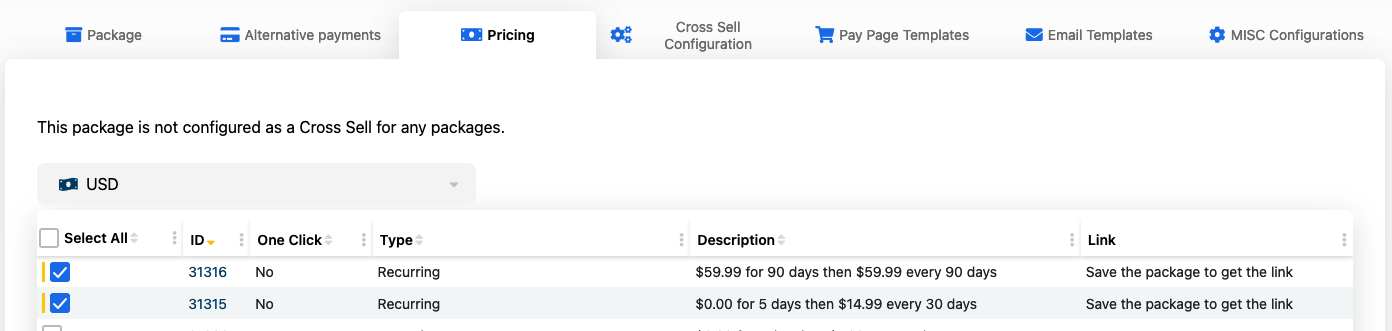
- Click "Save" on the bottom
- Click "Get my button code" for each price
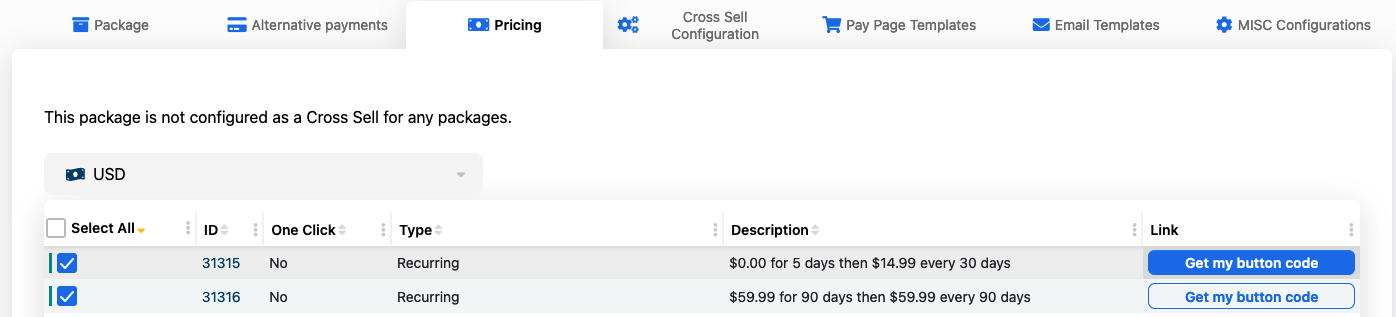
- Provide us with the URL for each price. It should be a URL like
"https://pps2.segpay.com/billing/poset.cgi?x-eticketid=204243:31315 "
- If you still have any questions, please read the Official Segpay Documentation about Packages
Thank you
After you complete all the steps, please:
- Inform us of all the parameters, and we will conduct a test transaction.
- Contact Segpay once your integration has been completed so they can enable your package(s) to live mode, allowing you to begin accepting live payments.