Setting Up NETBilling for Bunny CMS
Please ensure you have your login credentials for the NETBilling Merchant Panel.
Required Information:
- Account Number
- Crypto Key
- Form ID
- Control CGI Access Keyword
- Site Tag
Create Site Tag:
- Navigate to "Site Tools" -> "Site Tags"
- Set Site Tag: short name of your site
Site Name: short name of your site
Site URL: "https://your-network-site.com"
Where "Primary site" - is your main site

- Click "Add Site"
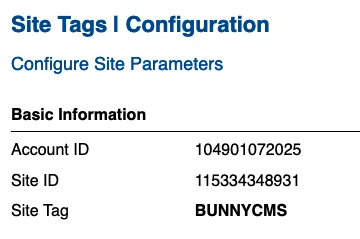
- Locate your site in the list and click "Config"

- Set Return URL: "https://your-network-site.com/thank-you?event=purchase"
Postback CGI URL: "https://your-network-site.com/api/postback/netbilling/"
Return Method: "HTTP POST"

- Add "bunny-cms" to Access Keywords under Data Retrieval
Interface
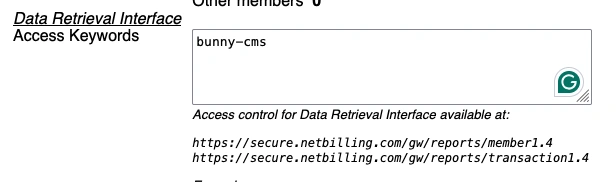
- Please provide us with the "Site Tag"
- Please provide us with the "Access Keyword". It's under Control CGI Advanced
Options

- Click "Apply"
Payment Form:
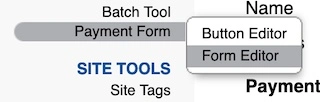
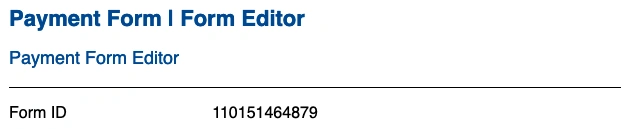
- Navigate to "Payment Form" -> "Form Editor"
- Locate the default form for your site and click "Edit"

- You can disable all "Customer Billing Address" elements or just some, if they aren’t
required
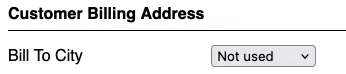
*We recommend keeping "Bill To Country", "Bill To Zip Code", and "Bill To Email" enabled - Disable the "Customer Shipping Address"

- Please provide us with the "Form ID"
- Click "Apply"
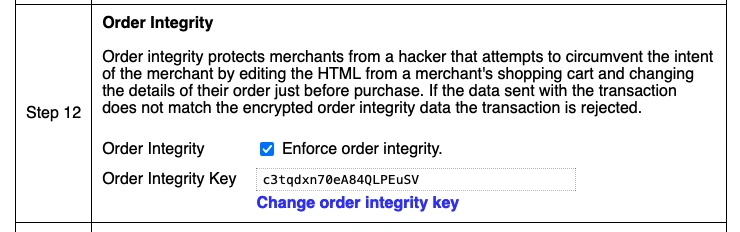
Crypto Key:
- Navigate to "Fraud Control" -> "Fraud Defense"

- From step 12, select the "Order Integrity Key". It’s a Crypto Key.
Please provide it to us.
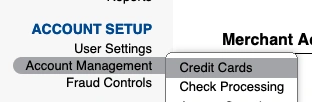
Make a Test Credit Card Number:
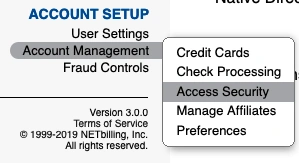
- Go to "Account Management" -> "Credit Cards"
- Ensure the "Account TEST MODE Activated" option is checked, and provide us the
card number from the Optional Test Card Number
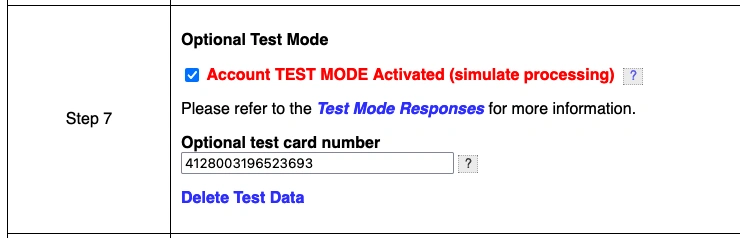
- You can use this credit card to make a test sale as if you were a regular member.
Enable Data Retrieval Interface:
- Navigate to "Account Management" -> "Access Security"
- Enable "Data Retrieval Interface" at the bottom

- Set Reporting Client IP Addresses: IP of your server

- Click "Apply"
Thank You
Once all steps are completed, please:
- Inform us of all the parameters, and we will conduct a test transaction.
- Contact NETBilling once your integration is complete so they can enable your package(s) to live mode, allowing you to start accepting live payments.